Thursday, November 18, 2021

Christmas Cards 2021!

 Hello everyone! I have been working on Christmas cards since Halloween. The couple weeks before that, I was hard at working creating my Halloween costume.


This was our first year doing a wheelchair specific costume, and had to honor my hubby's job as a concrete superintendent. He loves cranes, so I came up with the idea and we all worked to make it happen. Fun trunk-or-treating event at our church made for a great day!


Anyways, I just finished all 110 Christmas cards! I will take the weekend off before tackling the addressing envelopes and figuring weight and postage. How do you make sure your thick cards have enough postage? Leave your tips in the comments!


Thanks for stopping by!

Until Next Time~
Shari

Wednesday, July 14, 2021

Another Color Dare!

 Hello!

Been a few days since I have felt well enough to get into my craft room and create something, but today I decided to tackle another card challenge. This card is my entry into the Color My Heart Color Dare # 452. 

My craft room is large and very stocked, and yet I discovered that finding any light yellow (lemonade) or light blue/teal (glacier) is very difficult! I use a lot of neutral and grungey colors, and not many "pretty" or pastel colors, but I did the best I could!


Hope you will play along, or at least get crafty this week. Show us what you are working on in the comments!


Until Next Time

~Shari

Friday, July 9, 2021

One More Challenge Mod Squad! (MSC)

 One last challenge card today, and it is for the vellum flowers theme at Mod Squad. I have only used vellum a handful of times and never as flowers honestly. On top of using them a new way as die cut flowers, I also colored them with my new Copic markers. I think they turned out okay, but as well, I am my own biggest critic!

Simple birthday card design lets the vellum flowers be the focal point, like the challenge suggested.

Watercolor Copic Markers
Happy Birthday watercolor look vellum flowers


How do you use vellum?

Until Next Time

~Shari

Trying More New Things

 I have been working through a lot of my pinterest idea boards, which has lead me to try some new things. One of them this week was layering a lot of acrylic paint on a canvas board, and then carving into the layers of color to make a flower. I decided this will be mailed as art to a friend to brighten her day. When I saw the "Hello Sunshine" theme for Simon Says Stamp this week, I knew my project was a match!


Finished canvas with more than a dozen layers of paint colors

Trying my new Speedball vinyl cutting tool. (Unfortunately I carved my finger too!)

Flowers
Here are the two flowers before adding more leaves and carving.

Detailed shots


First Flower Carving Finished


Finished "Hello" mail art canvas, and entry for #ssswchallenge


Try something fun and new this week, play along with the challenge, and show the world what you created!

Until Next Time
~Shari


Dual Challenges

 I am someone who loves to check things off my to-do list, and sometimes I don't get into my craft room because my list is so long. Recently, I discovered that joining in some challenges, and adding them to my list with the deadline, makes me create more, which IMHO is a good thing!


Here is a card I made today for a baby shower next weekend. I used the colors from two different challenges. One is the MFT Color Challenge #169 where I saw that their 4 colors went well with the other challenge "Crazy 8" option in the Color My Heart Color Dare # 451. So I went with the closest colors I had to play along, and hope you will join us too!

Congratulations Baby Girl Card

Let's see what you are working on this week! I have some more challenges on my to-do list, so keep an eye out for more cards on the way!

Until Next Time
~Shari


Saturday, July 3, 2021

Hello Dryer Sheet and Leather Card

Hello!  

I needed a little inspiration to get my creativity flowing today, so I was browsing my favorite craft blogs. I decided to participate in the the Simon Says Stamp Wednesday Challenge this week with a "Anything Goes' card.


Since anything goes, I dug out a few old supplies make a vintage looking card. I grabbed a used dryer sheet that was tea stained, as well as some paper that I stained the same way. Scrap of fabric leftover from sewing masks last year, and a piece of leather that I used my new wood-burning tool on, some thread and a button, and I was ready to get started. (Leather left over from my last project)


Supplies: Tim Holtz cardstock, tea-stained dryer sheet and paper, thread, fabric and adhesive.


I got everything cut and then distressed the edges of the cardstock, as well as the dryer sheet and fabric. I add some extra thread after sewing on this cute red button, and used glue to adhere all the layers.

Close-up on the leather flower, fabric, dryer sheet, thread and button.

I stamped a simple "hello" on the tea-stained paper, crumbled it up more, distressed the edges and then added a little extra brown ink to the edges too.


I love making upcycled cards, although I have a TON of new craft supplies to use, I tend to always go back to my box of found and scavenged items. (I may have a problem! haha)

Simple design that looks a little more vintage and distressed just by adding a few extra layers. Easy peasy!

What are you making this holiday weekend?

Until Next Time
~Shari

Thursday, June 24, 2021

Mixed Media Play

 I had a free afternoon today and this "thing" that is hard to describe (I am sure there is an actual name for it)-

Recycled Package Padding

This compressed padding thingy came as cushion for a package we received a few months ago. It looks like chipboard, newspaper and magazines chopped and pressed together. I sealed it with some Mod Podge to make sure it would hold together before I started. Then I randomly applied some white gesso. 

background layers

I used the tissue paper from an old sewing pattern, a deli sheet that picked up leftover paint from my recent Gelli prints, and more Mod Podge to make a base layer.

Adding some detail and shape

I then used some torn telephone directory pages, both white and yellow with red, blue and black highlights. I add some acrylic paint to give a basic outline for my idea.

Sponging on Mixed Media Color Box colors for more detail

After letting things dry, I sponged on some more color to make the shirt for the girl in my project. I used a stamp I got from an artist happy mail swap, of a girl's face. I have actually never used it yet, so this was a good reason to bring it out! I stamped the image with Staz-On ink.


You can still see the telephone pages in close up photos

More acrylic pain was smeared on using my fingers to give the background more color. Then, I used some stencils with paint and stamps with black ink to add some shapes and words.

Close-up of background and details

I used my Cray-Pas oil pastels for the first time to color her face, skin, hair and flowers. Let's just say it didn't work too well with all the lumpy texture and grooves, so I definitely colored outside the lines!

Close up of my bad coloring job haha

I had fun playing and trying new things. It doesn't always go like I plan, but I learn soemthing every time!  The finished mixed media piece:

* Dream * Hope * Create * Be Brave *

What are you creating this week?


Until Next Time

~Shari

Monday, June 21, 2021

Instagram Reel Attempt

You may have seen my first ever (awkward and embarrassing) Instagram reel. Well, you should definitely go check out one of my favorite crafters, Sandy Allnock, and see her challenge that started this all!

Okay, so now that you saw the reel, where I blind-picked 3 random colors, you will also see that I made some gelli prints. The colors were a deep pink, bright orange, and very dark brown. I added titanium white with a fluid matte medium to the Gelli plate before adding the 3 chosen colors. Here is a close up of some of the texture I got from my first print. 

I also grabbed a few more colors while I was playing and tried a different batch of prints. After drying, I was ready to make some cards.

I usually struggle to design masculine cards, but something about these colors made me think I could use some of my Tim Holtz stash and make a birthday card. I also thought that lovely texture would be good leaves or animal fur. Since it isn't summer, but I have these dies I have never used, I decided on a bear and trees.


The final products are two masculine cards that will both be used for birthday.


Consider trying the challenge, and let us see what you are inspired to create!

Until Next Time
~Shari

Friday, June 18, 2021

DIY Leftover Wood Sign Project

Once you have done a few household projects, you end up with a stock of leftover wood scraps, opened cans of stain and other goodies like that. Back in 2018, we added a much needed elevator to our home. (needed due to my physical disability). I had stain left over from that, as well as other projects in our home, like these walnut stained crate shelves in our bathroom:

Not the best photo! Walnut stained crates.


Anyways, I had plenty of wood and stain, and a problem! The elevator I mentioned, has a door that looks just like all the other interior doors in our home, so people often pull on the handle to go in. Unfortunately, the door locks (to keep people from walking into the elevator pit), and when people try to open it, they usually yank harder trying to get in, when it doesn't immediately open. I decided to make a sign so that people might see it, and ask what door they should open, before the door or hinges get damaged. (we have some strong friends!)

My elevator with cherry stained cabin.

I tried my hand at gluing and clamping my wall plaque while Chad was working.


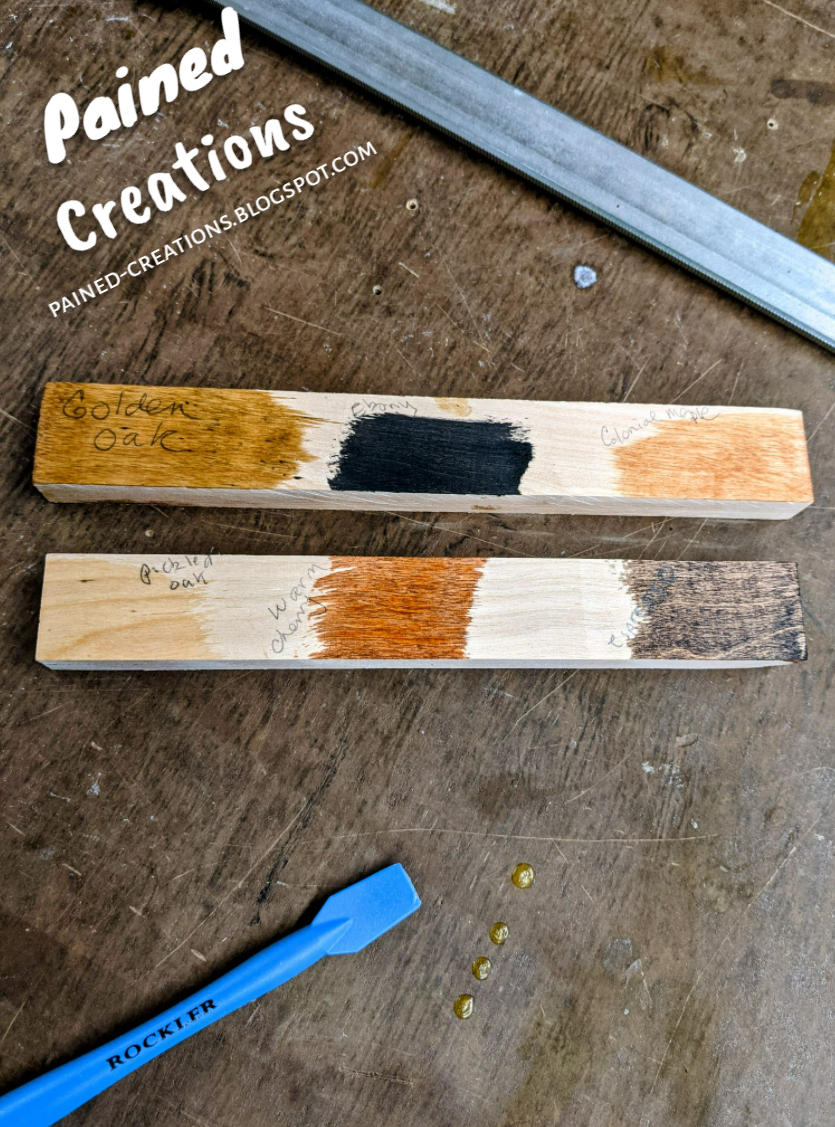
While the glue was drying, I tested all the colors of stain I have on the yellow birch wood scrap pieces, and tried to figure out with one I wanted to use.


Treated the wood with wood conditioner, and then alternately wiped all the stain colors across the sign.

I used 5 of the 6 stain colors I tested. Everything but the ebony stain. I just wiped with the grain and let dry briefly before using the next color, lightest to darkest. I finish with three coats of topcoat.

Next, I gathered all my vinyl sign supplies for my Silhouette (had to buy these because it is my first time using vinyl). I also bought the hubby a keyhole bit for his router to make the groove on the back to hang the sign up, but he is working a lot right now, so this will be finished and hung this weekend.


Ready to design and cut.


I used transfer paper to get the vinyl image from the Silhouette page to the wood sign. It was easier than expected! Now that I have some vinyl, I will definitely be making some more things 😃

I am happy with the way it turned out!

The letters are slightly crooked, which I knew almost instantly when the vinyl hit the sign, but it doesn't readjust well. Any tips you can share on making sure you get it lined up right on the first try?

If you 
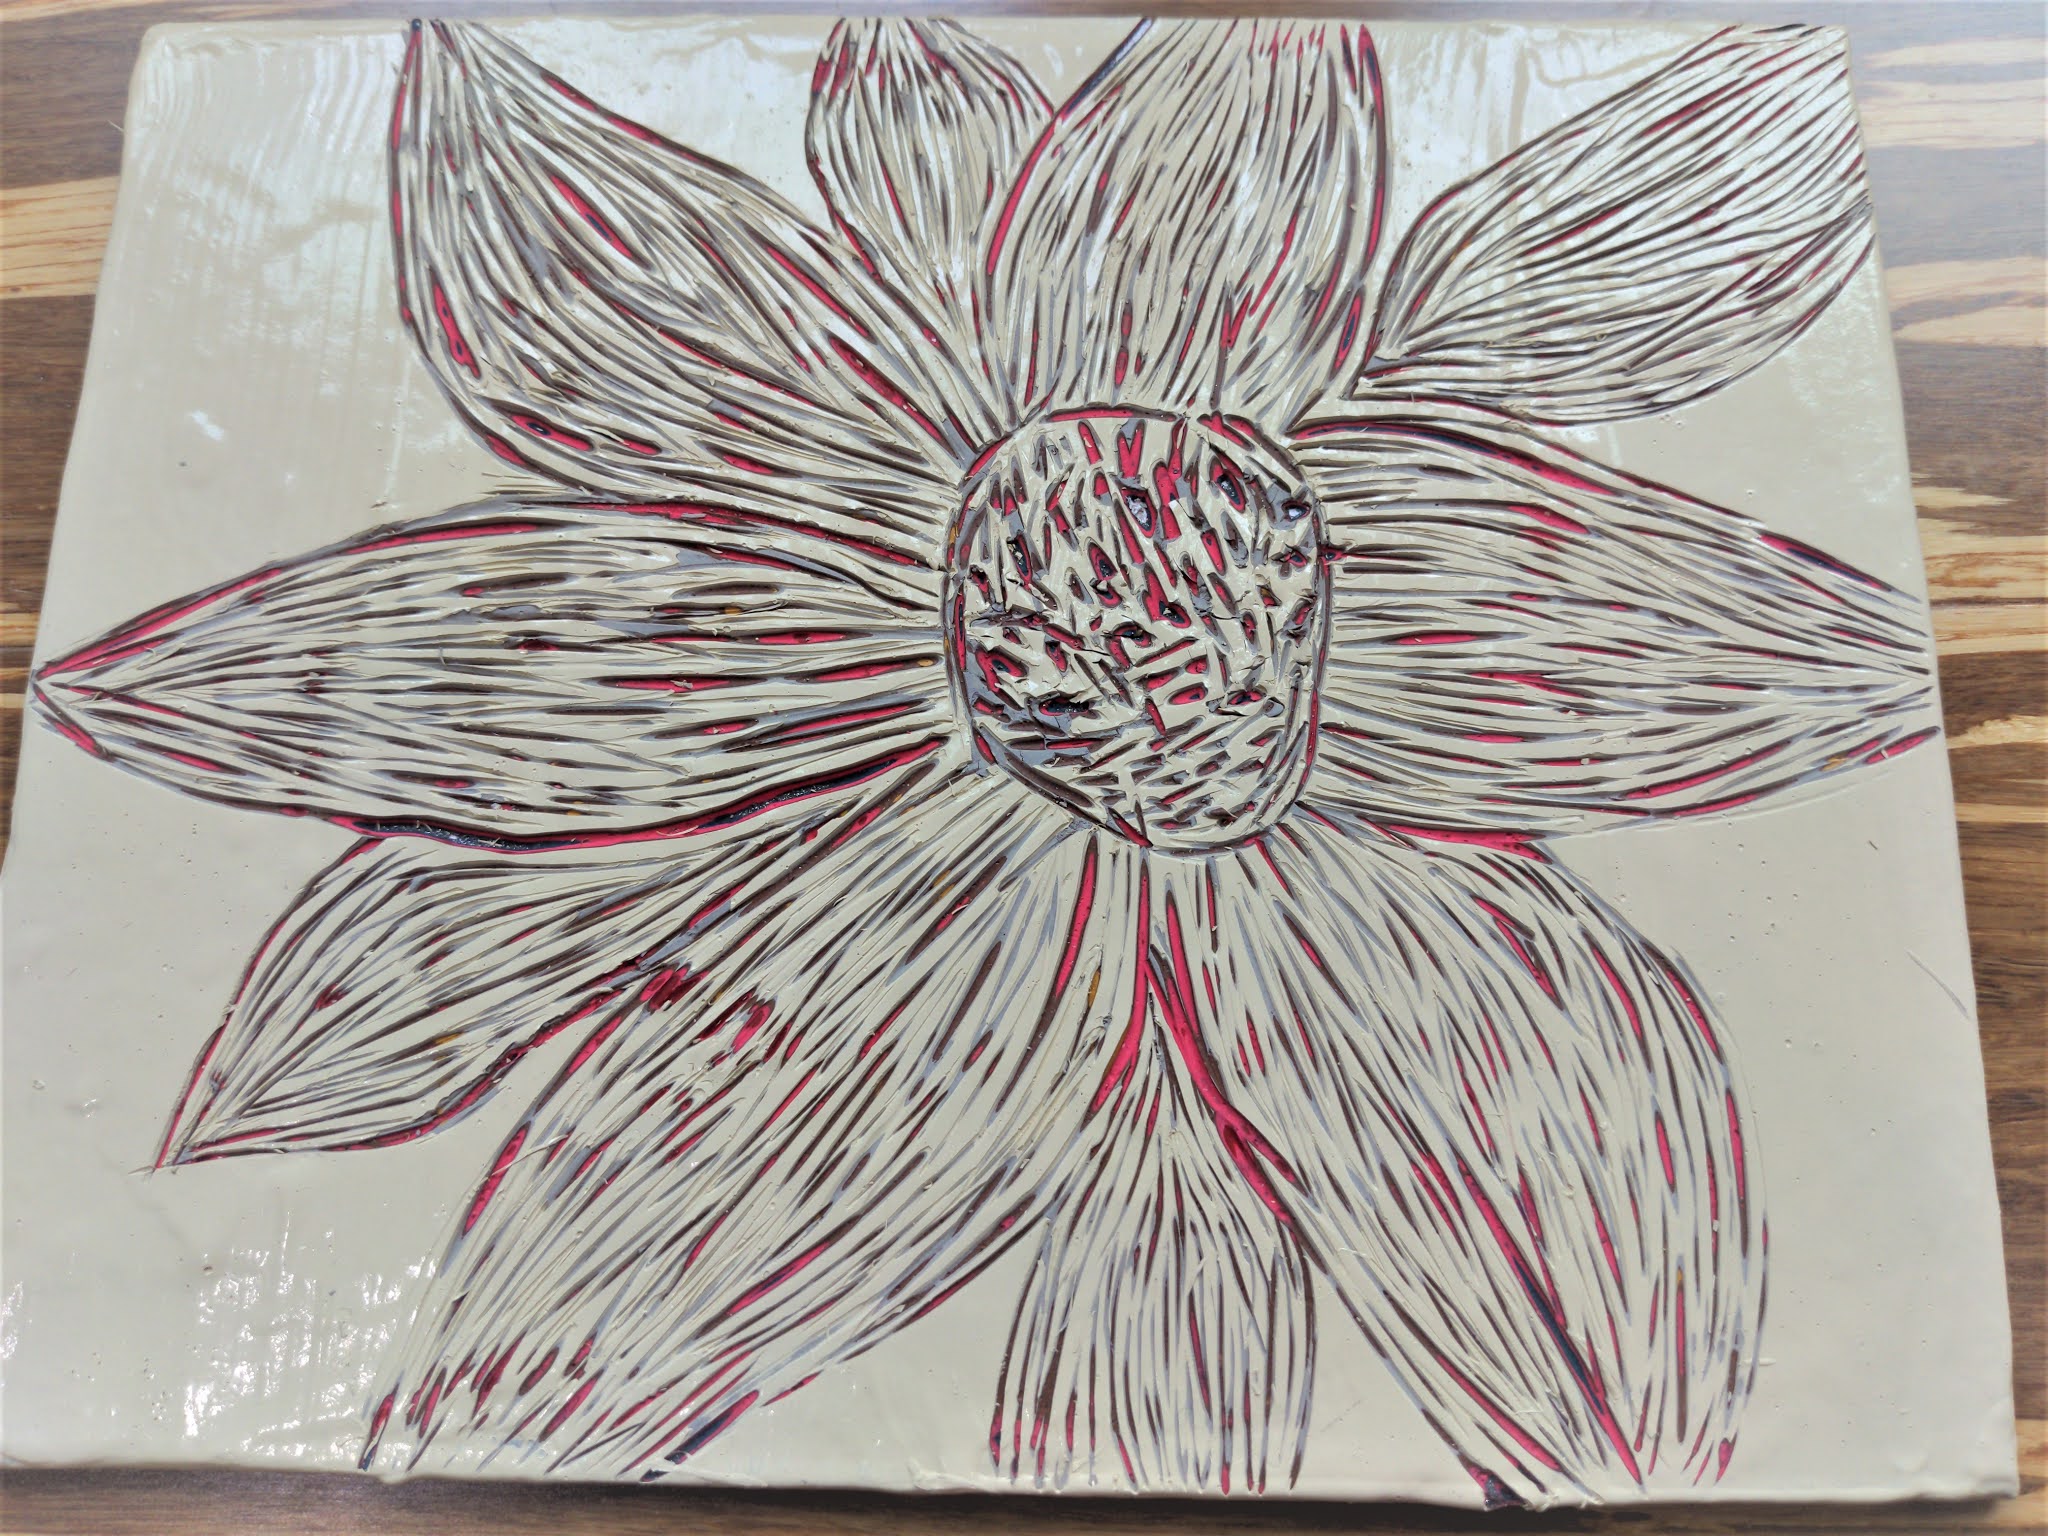
follow me on Instagram, you may have seen this project. I worked on two wood projects this week. This scrap of wood with a lot of grain and a knot, has been sitting in my craft room for a few years, since my daughter made beer carriers, and thought I could use this.

Having some rubbing alcohol on the brush and wood made the ink spread smoothly.

I used alcohol inks to stain the wood. It dries quickly! You have to spread it fast, using the rubbing alcohol to keep it moving, and then wipe off the excess. The ink stains the wood nicely though!


Share your tips or projects in the comments!

Until Next Time
~Shari


Monday, June 14, 2021

Chaise Lounge Chair Made Into A Tool Belt?!?

 Yep, you read that right! A few years ago, I solved a problem we had with a chaise lounge chair (shared that recently here). I stored away the leather and planned to do something with it it one day. Well, that day is finally here!

Pinterest is full of ideas, and when I saw a DIY handmade leather tool belt, I knew what I would make with my leftover leather from our chair. 

Leather Scraps
Pile of leather scraps


Leather Rotary Cutter
Rotary Cutter to trim leather scraps

I drew up a sketch of what I had in mind, and took my measurements. Then I realized I didn't have enough big pieces of leather, so I would need to sew together some smaller pieces. I came up with a plan to make the tool belt pouches with a belt. I cut the sections and assembled them with a few drops of glue, to hold it together before stitching.

CTMH Liquid Glass and leather
Supplies: Leather cord, needles, awl, and Liquid Glass glue

Hand Sewn Leather Tool Belt
I hand sewed the tool belt

I measured each stitch and marked the spot with the awl. It was HARD work getting it through two layers of leather just by forcing the awl through, but I got it done. (I am no quitter haha) It took three days to get all the stitching done because my hands needed a rest in between sections.

Leather Tool Belt Detail View


Hand sewn tool belt
Hand Stitched Leather Tool Belt Details

I had a very small piece of black leather left over from a craft projects ages ago and it was the perfect coordinating accent color. It was a much thicker leather piece, and thus even more difficult to sew through!

DIY Leather Tool Belt
All done!

It fits great, and holds a few things, which is all I needed it for. Sometimes, especially when doing mosaic projects, you just need several tools handy, and this keeps them close without taking up counter space.


DIY Leather Tool Belt
Complete DIY Leather Tool Belt

That is all for today! Off to the vet to get my doggy a check-up. What are you doing today? It is beautiful weather in Chicagoland, so we will be chilling outside for a while after the doggy doc. Enjoy your day, and be crafty!

Until Next Time
~Shari